中间件上云流程
作者:互联网
下载基础镜像
docker pull nginx

查看镜像
docker images

打包镜像
# -o 或 > 指定输出镜像文件的包名nginx.tar  nginx  镜像名
docker save -o nginx.tar nginx
   或
docker save > nginx.tar nginx

上传云服务器(略)
解压镜像
docker load < nginx.tar
    或
docker load -i nginx.tar
解压完成后会在
docker images下生成一个对应的nginx镜像
上传云服务器镜像空间
- 登陆对应的hub空间
docker login xxxxx - 上传解压好的镜像
docker push xxxxx/nginx:v1 - 创建一个nginx目录
mkdir nginx - 打包需要的文件

- 编写dockerfile文件
vi Dockerfile
FROM xxxx/nginx:v1
MAINTAINER lisongyu <li.songyu@qq.com>
USER root
WORKDIR /etc/nginx/conf.d/
EXPOSE 80
ADD ./nies-ui/ /usr/share/nginx/html/nies-ui/
ADD nies.conf /etc/nginx/conf.d/
ADD ./key ./key
- 编写生成上传镜像脚本
vi docker.sh
docker build -t xxxxx/nginx:1234 . # “.” 记得不要丢
docker push xxxxx/nginx:1234
-
给docker.sh附权并执行
chmod +x docker.sh; ./docker.sh由于我在本地,不需要上传到hub,所以我这边用
nginx:1234来代替实际的远程仓库xxxxx/nginx:1234
-
yaml配置文件编写
vi nginx.yaml
apiVersion: apps/v1
kind: Deployment
metadata:
  name: nginx
  namespace: default
  labels:
    app-name: nginx
spec:
  replicas: 1 # 设置启动的节点数
  selector:
    matchLabels:
      app-name: nginx
  template:
    metadata:
      labels:
        app-name: nginx
    spec:
      nodeSelector:
      securityContext:
        fsGroup: 1000
        runAsUser: 0
      containers:
      - name: nginx
        image: xxxx/nginx:1234
        imagePullPolicy: IfNotPresent
        ports:
        - containerPort: 80  # 容器内部端口
          name: web
          protocol: TCP

---

apiVersion: v1
kind: Service
metadata:
  name: nginx
  namespace: default
  labels:
    app-name: nginx
  annotations:
    prometheus.io/scrape: 'true'

spec:
  selector:
    app-name: nginx
  ports:
  - name: nginx
    port: 80  # 容器内部端口
    targetPort: 80  # 容器内部端口
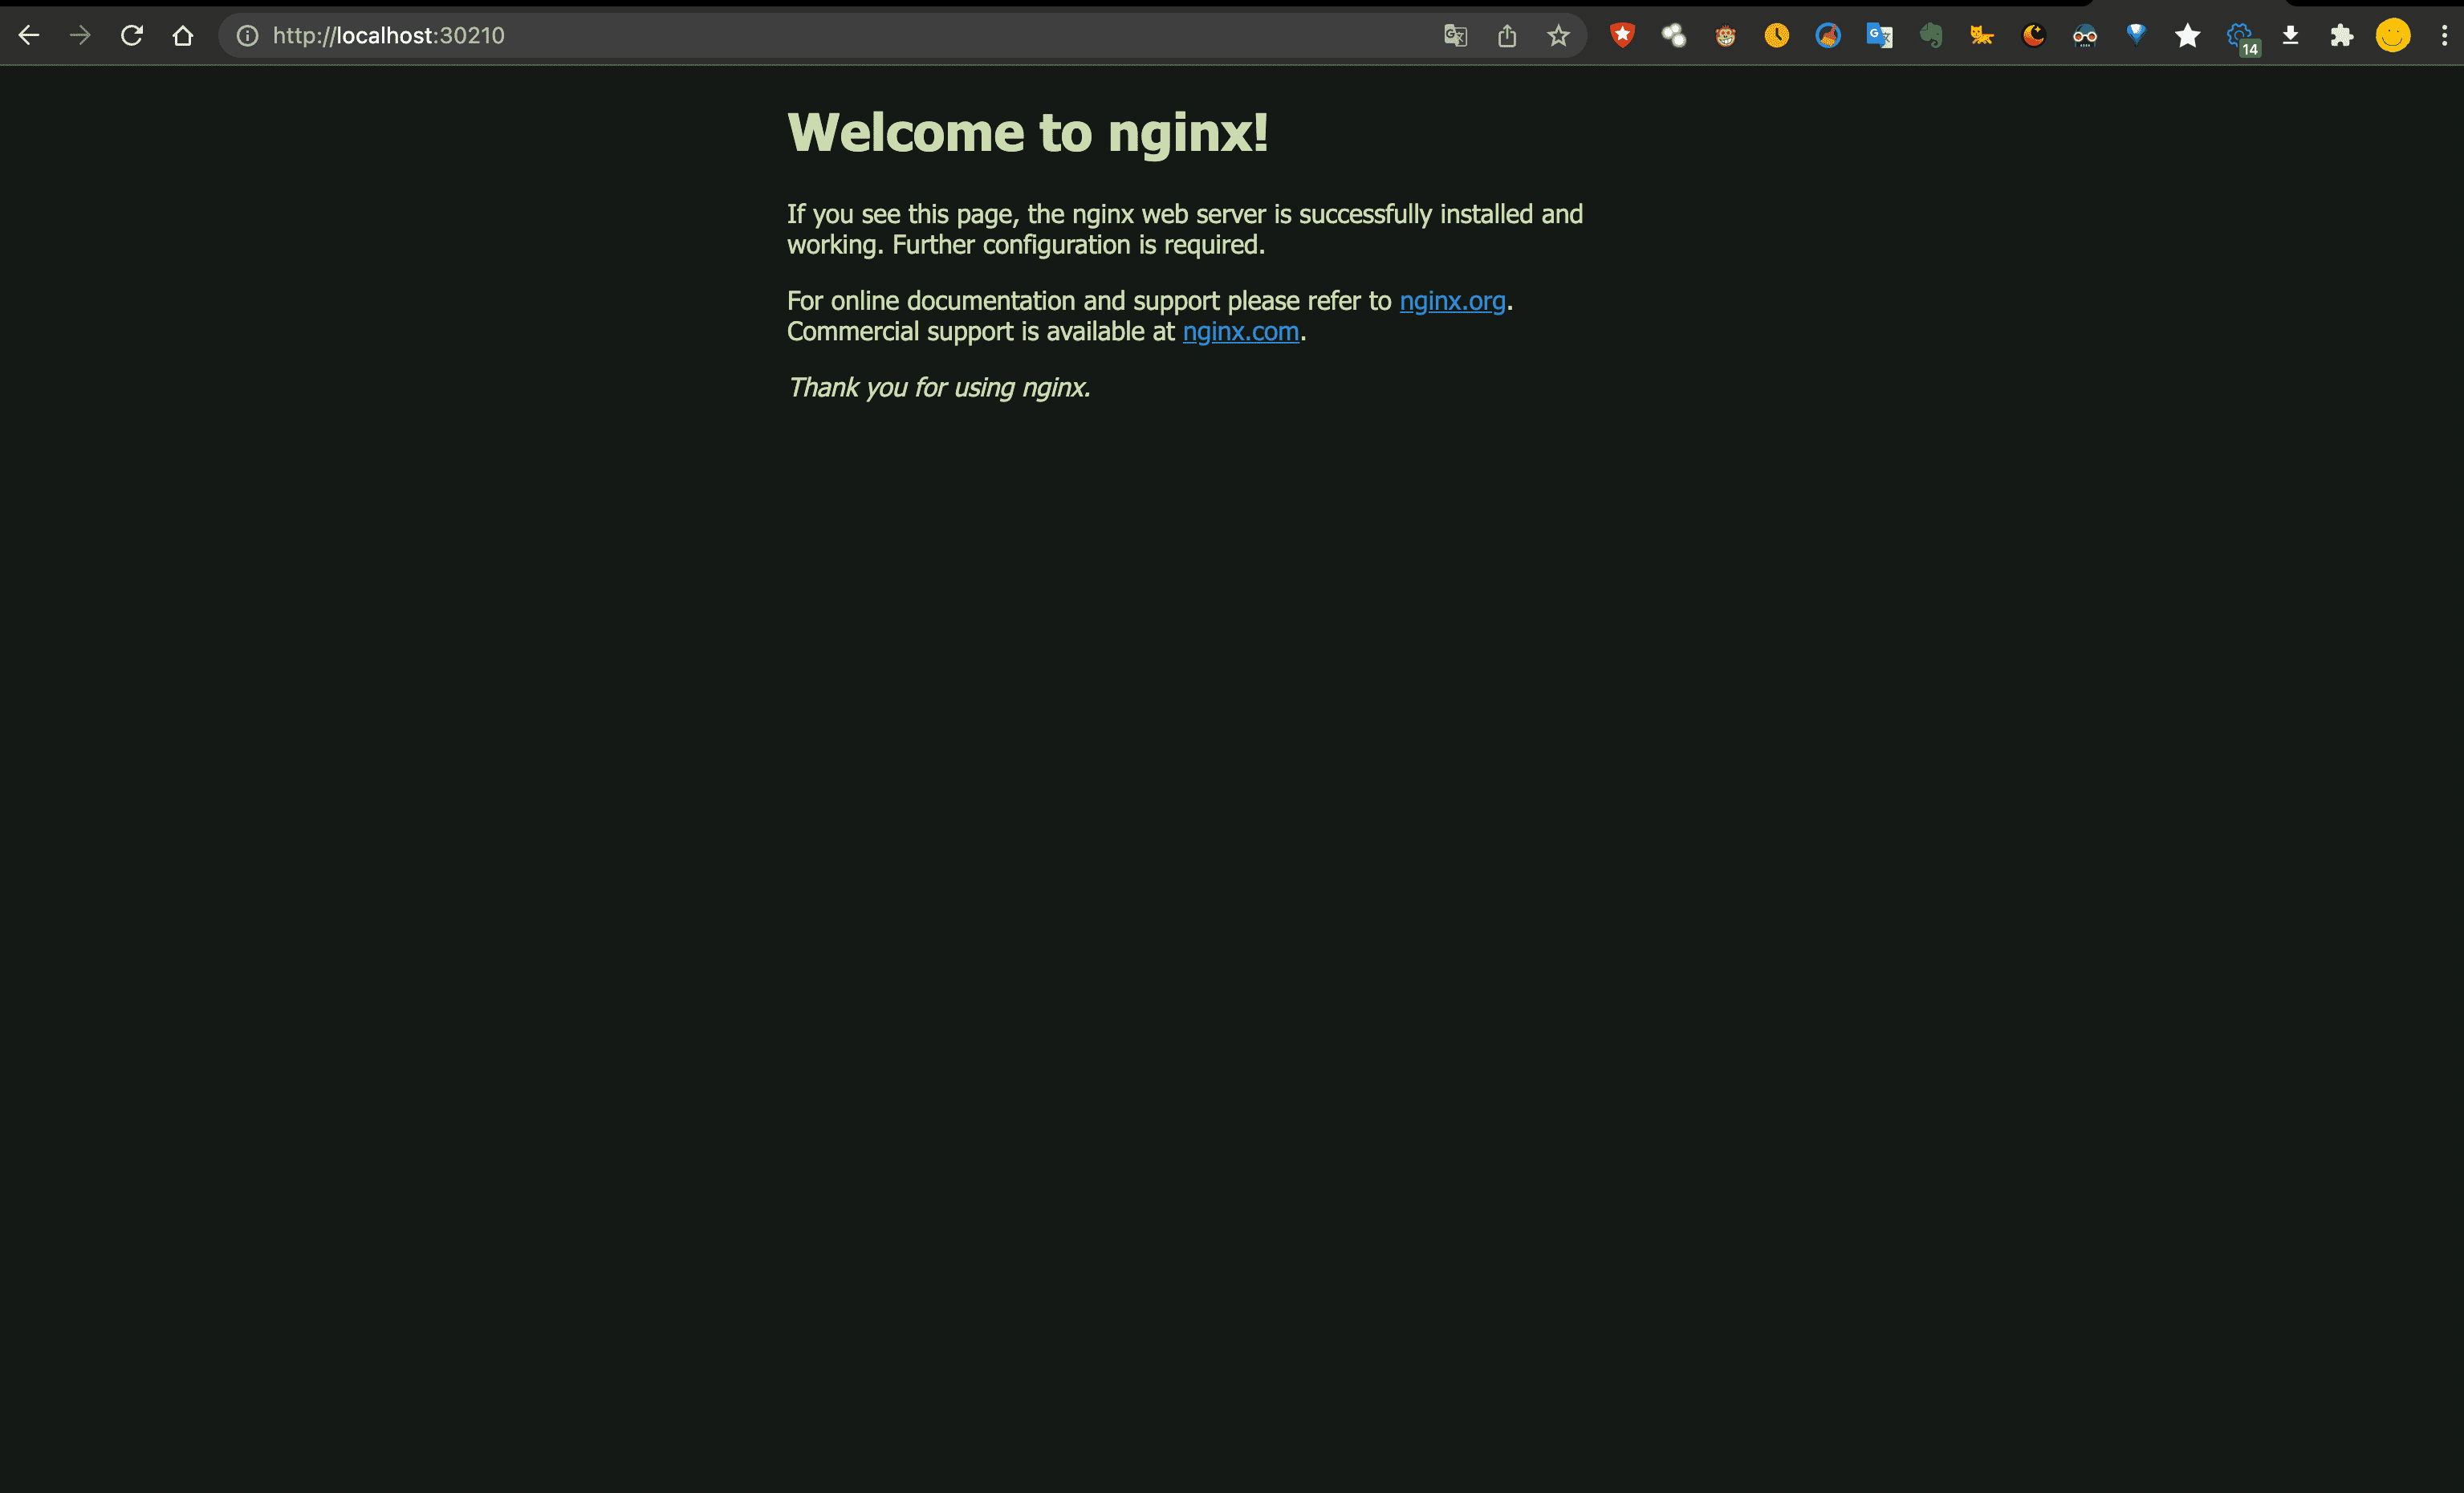
    nodePort: 30210  # nodePort k8s默认规定30000以上,节点机上默认访问的端口
  type: NodePort
- 启动容器
kubectl replace --force -f nginx.yaml
- 查看容器是否启动成功
kubectl get pods -n default

- 查看日志并访问
kubectl logs -f nginx-6fddf6d666-fm5mc


标签:1234,name,流程,中间件,上云,nginx,镜像,docker,app 来源: https://www.cnblogs.com/lisongyu/p/15748267.html