利用OpenSSL搭建基于预共享密钥模式的TLS1.3 Ubuntu服务器
作者:互联网
利用OpenSSL搭建基于预共享密钥模式的TLS1.3 Ubuntu服务器
找到最新版openssl

参考下面的链接进行配置
https://blog.csdn.net/u012670181/article/details/104102110
服务器搭建
先安装 libssl-dev,这就是 openssl 的开发版本套件。 并安装 busybox,我们会使用到里面的简易 web server
sudo apt-get install libssl-dev
sudo apt-get install busybox
去官网https://www.stunnel.org/downloads.html下载最新版的stunnel
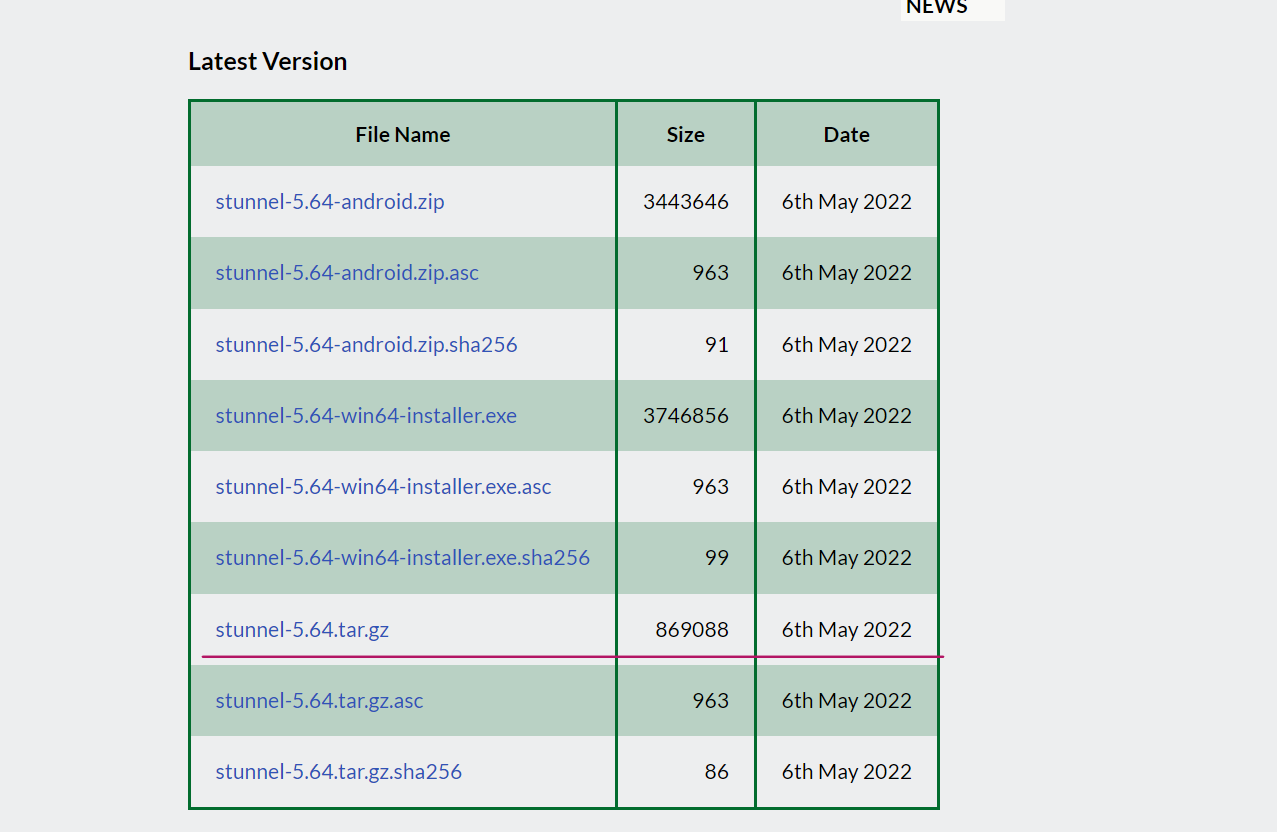
解压缩 stunnel 后,configure 后直接make即可
tar zvfx stunnel-5.64.tar.gz
cd stunnel-5.64
./configure
make
配置文件:
参考stunnel官方psk例程:
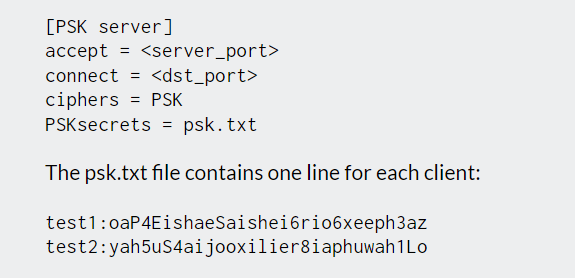
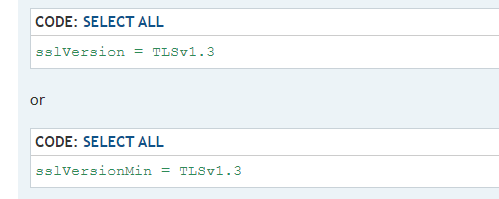
另外找到TLSv1.3的开启方法
echo "<H1> swswssw </H1>" > /tmp/index.html
echo "[https]" > /tmp/conf
echo "accept = 1443"  >> /tmp/conf
echo "connect = 1080" >> /tmp/conf
echo "ciphers = PSK" >> /tmp/conf
echo "PSKsecrets = /tmp/pass" >> /tmp/conf
echo "sslVersionMin = TLSv1.3" >> /tmp/conf
echo "user:00000000000000000000000000000000" > /tmp/pass
/tmp/conf:
[https]
accept = 1443
connect = 1080
ciphers = PSK
PSKsecrets = /tmp/pass
sslVersionMin = TLSv1.3
/tmp/pass:
user:00000000000000000000000000000000
若开启过stunnel,则killall stunnel关闭进程,开启stunnel:
./stunnel /tmp/conf
无其他回显,则成功

为测试网页写入代码
echo "<H1> swswssw </H1>" > /tmp/index.html
若开启过busybox,则killall busybox关闭进程,开启busybox:
busybox httpd -h /tmp -p 127.0.0.1:1080
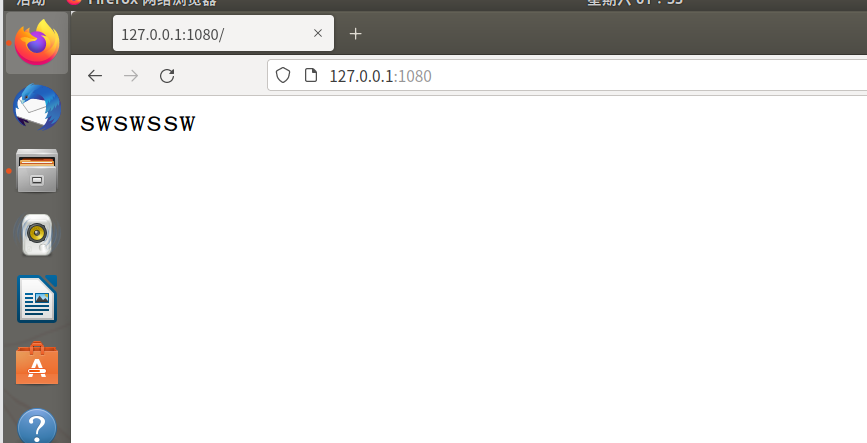
访问127.0.0.1:1080,成功搭建服务器
客户端搭建
直到配置文件前,与服务器操作相同
配置文件参考stunnel官方psk例程:

echo "[client]" > /tmp/conf
echo "client = yes"  >> /tmp/conf
echo "accept = 127.0.0.1:3180"  >> /tmp/conf
echo "connect = 192.168.220.144:1443"  >> /tmp/conf
echo "ciphers = PSK" >> /tmp/conf
echo "PSKsecrets = /tmp/pass" >> /tmp/conf
echo "sslVersionMin = TLSv1.3" >> /tmp/conf
echo "user:00000000000000000000000000000000" > /tmp/pass
/tmp/conf:
[client]
client = yes
accept = 127.0.0.1:3180
connect = 192.168.220.144:1443
ciphers = PSK
PSKsecrets = /tmp/pass
sslVersionMin = TLSv1.3
/tmp/pass:
user:00000000000000000000000000000000
若开启过stunnel,则killall stunnel关闭进程,开启stunnel:
./stunnel /tmp/conf
无其他回显,则成功

开启wireshark,开始抓包
访问127.0.0.1:3180:
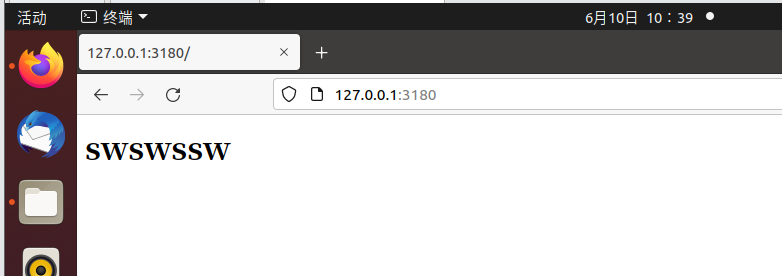
成功抓包

标签:tmp,busybox,TLS1.3,pass,OpenSSL,stunnel,开启,confecho,Ubuntu 来源: https://www.cnblogs.com/yuxiaohan1236/p/16369411.html